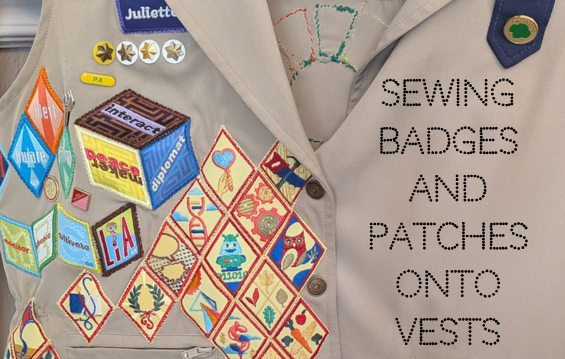
Sewing Badges and Patches onto Vests
I’m often asked how I get badges and patches to stay on my daughters’ vests. When my mom was my leader, she used clear nylon thread as the top thread in her sewing machine. She used the vest’s color as the bobbin thread and stitched around the border of the patch. When I attempted this, I broke many needles and grew frustrated. I have ADHD and don’t know which needles are meant for which projects. Additionally, my passion for the project diminishes when things break… so I didn’t really put much effort into figuring out what went wrong. Instead, I pivoted.
I keep a drawer of embroidery thread in my desk, with a variety of sewing needles. When my girls have earned a badge or patch, I color match the embroidery thread as closely as I am able to.
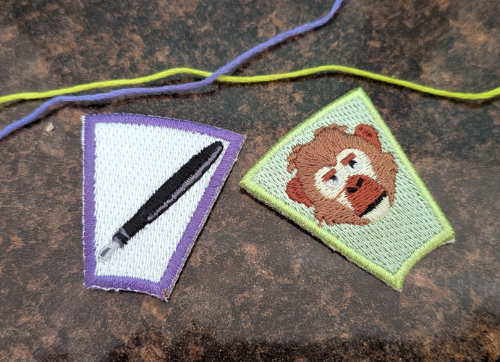
Each embroidery floss has six strands and can be difficult to stitch with. I only use three strands. The other half I set aside for future needs. I tie a knot at the end of the thread and I start by sewing through one corner of the backside of the patch. This hides the knot.
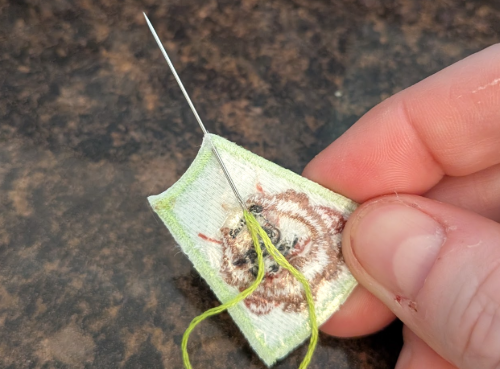
My first stitch is through the vest fabric. This anchors the patch in place and keeps it secure.
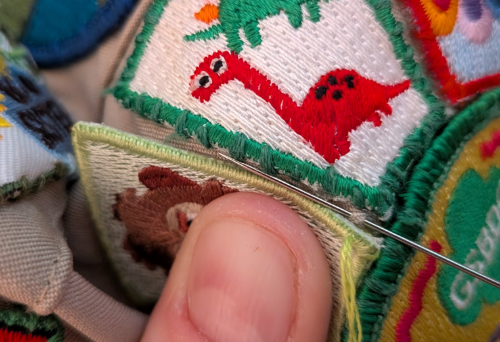
Instead of stitching through the patch, I pull the thread tight and then stitch under a section of the border of the patch. This lets me avoid having to wear out my needles on iron-on-backings or thick plastic.
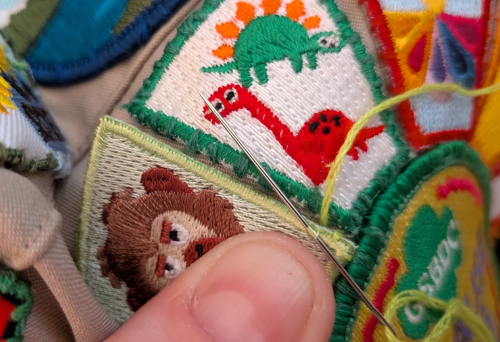
Next, I pull the thread so that it is tight- but not making the vest fabric pucker. While holding the patch in the desired position I repeat the pattern of vest stitch, patch stitch.
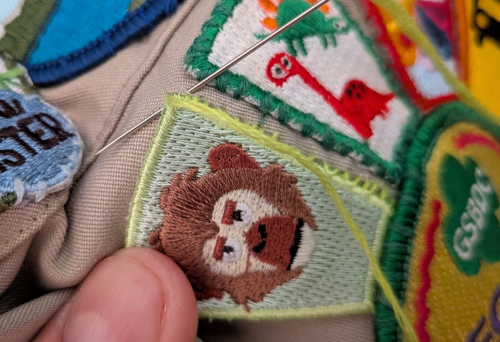
When I have finished, I secure the thread with some extra stitches in the back. If I’m sewing on top of another patch, I use the same method, but instead of sewing through the lower patch, I sew across it’s threading just like sewing through the border.
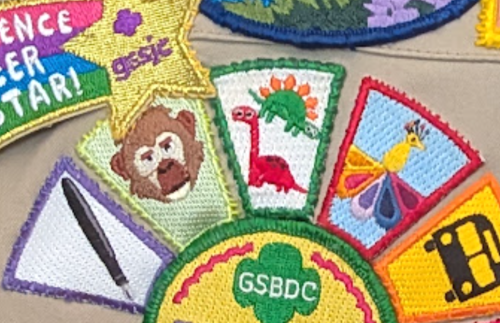
If I know that I’ll be tucking another patch under a corner in the future, sometimes I just leave that section loose and un-stitched to save myself time later.
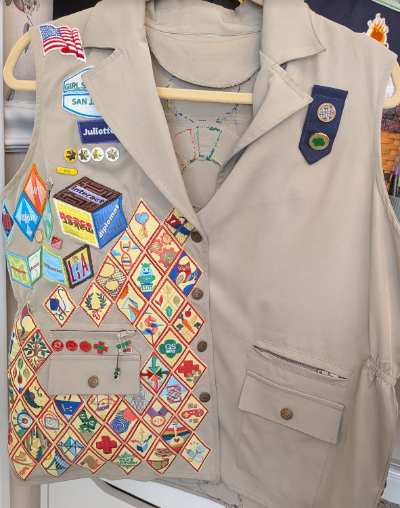
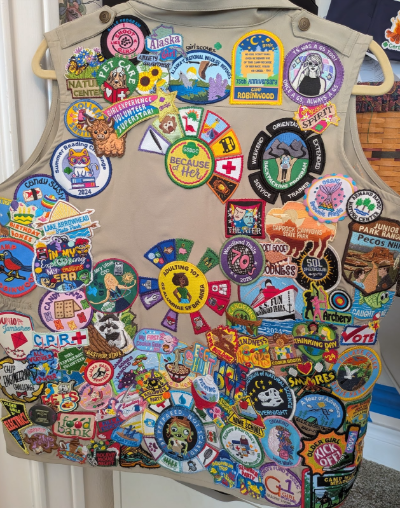
Any patches that my daughters don’t want to take up space on their vest, go onto a bag instead. This strategy has worked well for keeping their hard-earned badges and patches secured. It also helps use the space available as efficiently as possible. I hope this helps you feel empowered to start sewing patches as well!


You May Also Like
Where to Find Fun Patch Programs
Camping for Life